
How to Fish Boss Guides
Find the encounter, understand its dangerous phase, use the arena well, and continue the island progression after the fight.
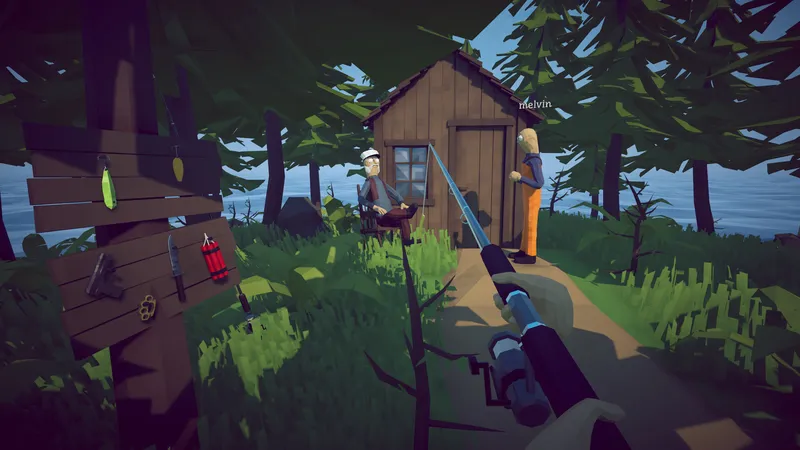
Find the encounter, understand its dangerous phase, use the arena well, and continue the island progression after the fight.
BOSS DIRECTORY
Prepare the opening encounter, avoid the direct charge, use the recovery window, and complete the boss-drop hand-in that advances travel.
Open guide BossesHow to Beat the Giant Piranha BossControl the added enemies, protect space for healing and reloads, then collect the progression item needed for the next island stage.
Open guide BossesHow to Beat the Volcanic Whale in How to FishReach the final Island 5 whale sequence, create the volcanic phase, survive its area attacks, and finish the last hand-in without losing the route item.
Open guide BossesHow to Beat Pufferfish in How to FishTrigger Pufferfish with the endangered-fish tourist task, then use trees, short damage windows, and the right difficulty to beat the boss safely.
Open guide BossesHow to Beat the Albatross BossComplete the Tuna-to-Albatross chain, use cover during ranged pressure, and save damage for the safer windows in the encounter.
Open guideThe documented main route shows ten boss encounters, from Spider Crab through Mutated Bowhead Whale. That count answers how many bosses are in the How to Fish game route without treating every dangerous creature or quest target as a separate main boss. This directory currently gives focused pages to the encounters with verified search demand and enough source material, while the complete walkthrough preserves the full recorded order for players who need later progression context.
A useful How to Fish boss plan begins before the first attack. Confirm that the active objective points to the encounter, carry equipment that leaves a workable recovery window, and inspect the arena for cover, open movement lanes, and obstacles. If the boss requires a quest item or prior step, protect that requirement until the trigger is complete. Starting repeatedly without checking the objective can make a progression problem look like a combat problem.
Preparation should answer three questions: where can the player move safely, when can damage be dealt without losing the escape route, and what must be collected after the fight. The individual guides apply those questions to Spider Crab, Giant Piranha, Pufferfish, and Albatross. They do not claim that one weapon is mandatory for every patch or difficulty. Positioning and repeatable timing are more durable than a single numeric loadout copied from launch footage.
Terrain is not merely background. A missed Spider Crab charge creates a response window, while the Pufferfish and Albatross guides use cover to interrupt dangerous pressure. Giant Piranha becomes easier to understand when the arena is treated as space that must remain available for movement, healing, and reloads. Before attacking, identify the route that stays open if the boss moves directly toward the player or smaller threats enter from another angle.
Avoid backing into an unknown edge while watching only the boss. Move with a purpose, check the next safe position, and return damage when the encounter commits to an attack or recovery animation. A shorter controlled window is usually more reliable than a long attack that removes every exit. In co-op, players should avoid blocking the same lane. Spread attention across the arena while keeping the boss visible enough that the team can react to the same dangerous phase.
Community videos show several workable ranged choices, but a loadout only helps when its timing fits the arena. Consider how long it takes to commit, reload, and return to movement. If added enemies interrupt recovery, prioritize control and space. If a boss punishes open ground, prefer short damage windows that end before cover is needed again. This framework remains useful when official updates change health, damage, or difficulty settings.
Test the setup against the first repeatable pattern instead of judging it from one chaotic attempt. Change one element at a time and note whether the failure came from positioning, timing, or insufficient pressure control. A weapon swap will not fix a missed quest trigger, and more damage will not fix an unsafe reload location. The boss pages separate those causes so players can adjust the correct part of the plan instead of grinding every available upgrade.
How to Fish supports online co-op without requiring formal tank, damage, or support classes. A group can still divide practical responsibilities. One player can preserve a clear lane, another can focus on a short damage window, and another can watch smaller threats or the progression item. The arrangement should change with the encounter and available gear. The purpose is coordination, not forcing every group into a permanent composition.
Agree on the retreat direction before triggering the boss so players do not cross into each other during the dangerous phase. After the fight, name the person collecting the unique reward and wait for the objective update. If the encounter behaved differently for host and guests, record those roles before recreating the lobby. Clear responsibility makes both combat and progression problems easier to diagnose, especially when an item must be carried into the next hand-in.
Official Steam news documents balance and difficulty changes after launch. An older guide can still show the arena, trigger location, and broad attack pattern, but its health expectations or preferred damage windows may no longer match. Pufferfish is a clear example because official notes describe a difficulty reduction. Treat the current game behavior as the final authority and use recorded footage to recognize patterns rather than to demand an identical timer or number of attacks.
When a strategy appears impossible, confirm the selected difficulty and current version before assuming the method is wrong. Then compare the phase that caused the failure, not the entire fight. The source notes on each boss page show whether a statement comes from official patch information, a visual walkthrough, or a community report. This allows players to distinguish a verified balance change from an optional tactic that worked for someone else.