
How to Beat the Giant Piranha Boss
Control the added enemies, protect space for healing and reloads, then collect the progression item needed for the next island stage.
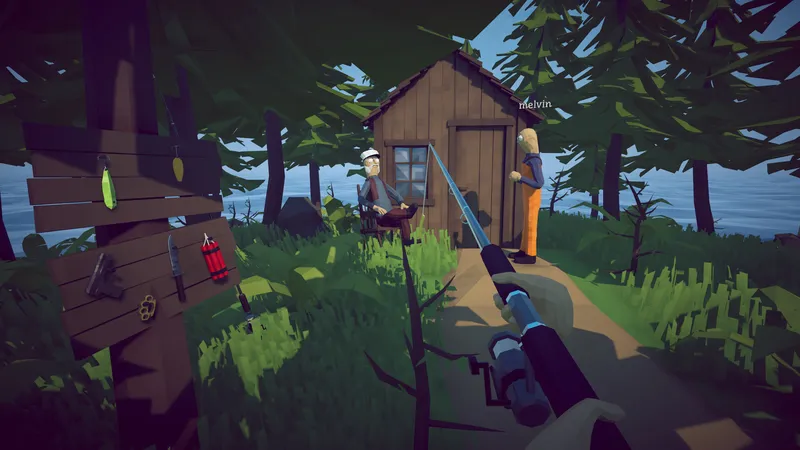
Control the added enemies, protect space for healing and reloads, then collect the progression item needed for the next island stage.
DIRECT ANSWER
Carry a setup that leaves a realistic reload and healing window. A high-damage option is less useful if smaller enemies keep canceling every recovery attempt.
Use movement to prevent the smaller threats and the boss from reaching you at once. Remove immediate pressure, then return damage to the boss from a clear position.
After the fight, collect the unique reward and check the new objective before traveling. The walkthrough links this hand-in to later island progression.
The Giant Piranha fight is easier to control when it is treated as an arena-management problem. Smaller threats can remove the space needed to heal, reload, or avoid the boss. At the start, identify a route that does not end at the water or an obstacle. When added enemies close that route, clear enough pressure to restore movement before returning full attention to the boss. Surviving a longer controlled attempt is more useful than forcing damage while surrounded.
Keep the boss and immediate threats on the same side of the player whenever possible. Moving through the middle of the group can create pressure from every direction. Instead, rotate around open space, remove the closest interruption, and resume boss damage from a position with a visible exit. The exact weapon can vary. A practical loadout is one that lets the player stop attacking, move, and recover before the arena closes again.
Do not chase every small enemy across the arena while ignoring the boss. Clear adds when they threaten the next movement or recovery window. If they remain distant and the boss is committed to a safe pattern, use that opportunity for damage. If they surround the reload position, address them first. This priority system keeps attention connected to survival instead of switching targets randomly.
A failed attempt should reveal which pressure ended the cycle. If the player could not reload, create more distance or use a shorter commitment. If a smaller threat caused the final hit, clear earlier. If the boss caught a straight retreat, change the route rather than only adding damage. Adjust one cause between attempts so the next result can be understood. Buying several upgrades at once may hide which change actually solved the problem.
In online co-op, one player can keep the boss readable while another removes the nearest added pressure. A third can preserve a recovery lane rather than chasing damage. Rotate these jobs when equipment or positioning changes. The goal is to prevent every player from reloading or retreating in the same place. Clear communication about the safe direction often provides more value than four identical loadouts.
After Giant Piranha is defeated, collect the unique reward and check the active objective before traveling. Identify the carrier and wait for the related hand-in to register. If the next stage does not open, return to that objective instead of assuming a missing map location. The full walkthrough connects this reward to later island progression, while this boss page remains focused on controlling adds, preserving space, and completing the immediate post-fight step.
The surrounding Island 2 route also helps diagnose a fight that never begins. Complete the woman’s three-leech request, receive the related bait, and follow the updated objective into the Giant Piranha encounter. After the victory, keep the boss tail and return it to the woman before expecting travel to Island 3. If any link in that sequence is missing, open the Leeches or Islands guide rather than repeatedly circling the arena. Combat advice only applies after the quest trigger has been completed and the boss is active.
A useful reset does not require leaving the fight. Stop attacking, move toward the clearest lane, remove the nearest smaller threat, and restore enough distance to reload or heal. Resume boss damage only when the next exit remains visible. If every direction is blocked, the mistake happened earlier in the rotation. On the next attempt, clear pressure sooner instead of relying on a larger weapon to solve the closed arena.
Use difficulty as a learning tool when incoming damage prevents observation, but keep the same space-control priorities. Easy changes creature health and damage; it does not remove added enemies, complete the leech task, or submit the tail. Record the selected mode when comparing a video or another player’s result. A strategy can remain correct while the number of attacks and tolerance for mistakes differ between settings.
Once the tail is secured, bring the carrier back to the Island 2 woman and wait for the third-island travel objective. A successful fight without this step is an incomplete route. The Leeches page owns the prerequisite, this page owns the active fight, and the Islands page owns travel. Those links keep each long-tail answer focused while preventing the Giant Piranha article from becoming an isolated boss page.
Not when the added enemies are closing your safe route. Remove enough pressure to heal and reload, then resume damage on the boss.
The visual guides show workable choices, but the key requirement is controlling space. Treat specific loadouts as options rather than a single mandatory solution.
REFERENCE RECORD