
How to Beat the Albatross Boss
Complete the Tuna-to-Albatross chain, use cover during ranged pressure, and save damage for the safer windows in the encounter.
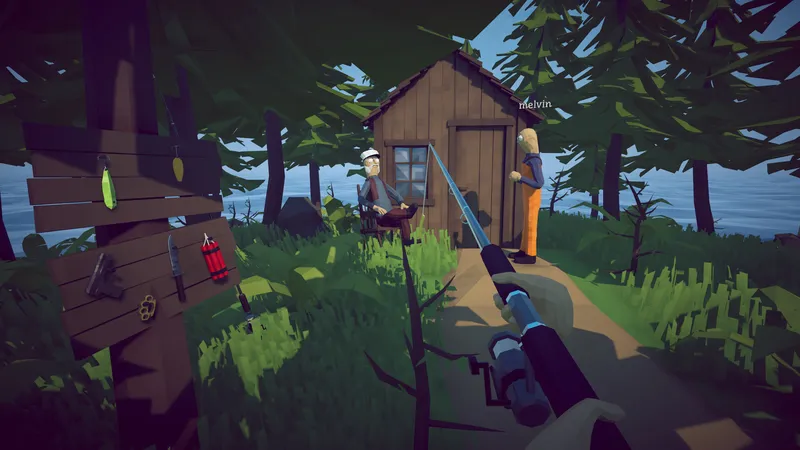
Complete the Tuna-to-Albatross chain, use cover during ranged pressure, and save damage for the safer windows in the encounter.
DIRECT ANSWER
The focused walkthrough presents Tuna and Albatross as one Island 4 chain. Confirm the Tuna objective and keep the required item before trying to start the bird encounter.
Place or use the Tuna where the objective and visual route indicate. If the encounter does not begin, verify the previous objective advanced before changing equipment.
The dangerous ranged sequence rewards patience. Break line of sight, wait for the attack to finish, then move out for a controlled damage window.
The Albatross encounter belongs to the Island 4 Tuna-to-Albatross sequence. Complete the Tuna objective first and keep the required item available for the bird trigger. If Albatross does not appear, inspect that chain before changing weapons or restarting the game. The active objective should point toward the intended use or location. A missing prior step is more likely than a combat loadout preventing the encounter from starting.
Once triggered, treat the ranged pressure as the central mechanic. Identify terrain that breaks line of sight and move behind it when the attack begins. Wait for a safe window before leaving cover, deal controlled damage, and return before the next sequence removes the route. The focused guide demonstrates that the encounter can be completed solo, so a group is helpful but not a requirement for the basic strategy.
The Tuna step and Albatross fight should be planned as one progression chain. Confirm the Tuna objective is complete, identify the item needed for the next interaction, and avoid selling or abandoning it. In co-op, name the player responsible for carrying and using it. Bring that player to the trigger location and wait until every lobby member can see that the encounter has begun.
If the trigger fails, revisit the previous objective text and compare inventory responsibility. Do not repeat unrelated fishing or search every island before confirming the required item. Also separate a trigger problem from a lobby problem. If guests cannot join or see a black screen, use the technical troubleshooting page. If everyone is present but the objective remains incomplete, continue diagnosing the Tuna chain and hand-in.
Choose a cover position that allows a short step into line of sight and a quick return. Do not travel so far for damage that the next ranged attack catches the player in open ground. Watch one full pattern before committing to a long attack. When the pressure begins, return behind terrain and use the downtime for reload or recovery. This cycle makes the fight slower but easier to repeat.
Co-op players should use separate cover angles without standing in each other’s retreat path. One player can keep visual attention while another reloads, then exchange roles. After the fight, secure the reward and read the new objective before leaving Island 4. Open the full walkthrough for the later boss order. This page remains focused on one long-tail problem: completing the Tuna trigger and surviving the Albatross ranged sequence.
When an attempt fails, classify the loss before buying another weapon. If the ranged attack reaches the player behind cover, choose terrain that fully blocks the line instead of relying on distance alone. If the player is hit while stepping out, wait through one complete attack pattern and shorten the damage window. If the reload causes the loss, begin it only after returning to cover. In co-op, compare whether the same attack is visible to host and guests before calling the pattern inconsistent. Change one condition per attempt so the next result identifies the actual mistake.
The encounter can be approached on the current Easy, Default, or Hard setting, but comparisons need the mode and version attached. Easier damage values provide more time to learn movement; they do not complete the Tuna trigger or protect a lost quest item. Hard mode extends the period in which the cover cycle must remain reliable. Keep trigger troubleshooting in the route sequence and combat troubleshooting in the arena sequence. That division prevents a missing prerequisite from being mistaken for a balance problem.
If Albatross never appears, return to the Tuna objective and inventory carrier. If it appears but the ranged attack controls the arena, stay on this page and improve the cover cycle. These two symptoms require different evidence. The first needs the current objective, item, and hand-in; the second needs cover position, attack timing, difficulty, and recovery sequence. Keeping them separate avoids unnecessary fishing, shopping, or lobby restarts.
After the bird falls, collect the progression reward, confirm the active player carries it, and read the next objective before leaving Island 4. In co-op, wait until host and guests see the same update. If the item or route state differs, preserve that information and check the walkthrough rather than immediately replaying both Tuna and Albatross. This closes the long-tail answer from trigger through combat to hand-in without claiming one mandatory weapon.
Use the boss directory for the next encounter and the final whale guide when the route reaches Island 5. The Albatross page should not duplicate later fights or the complete map. Its job is to connect the Tuna prerequisite with safe line-of-sight movement, repeatable ranged damage windows, and a confirmed post-fight transition. That boundary also keeps the page useful when later balance changes alter exact damage values.
Check that the Tuna step is complete, the required item is still available, and the active objective points to the Albatross trigger location.
Yes. The referenced focused guide demonstrates a solo route using terrain and controlled ranged damage windows.
REFERENCE RECORD